
Building a Traditional Woodworker's Bench
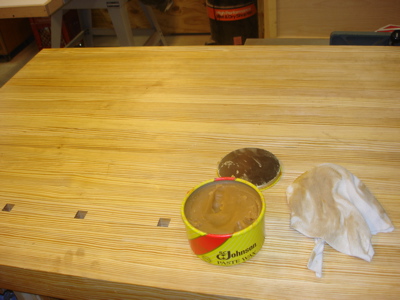
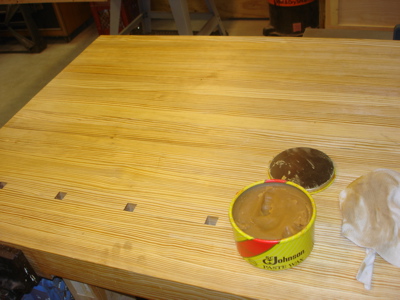
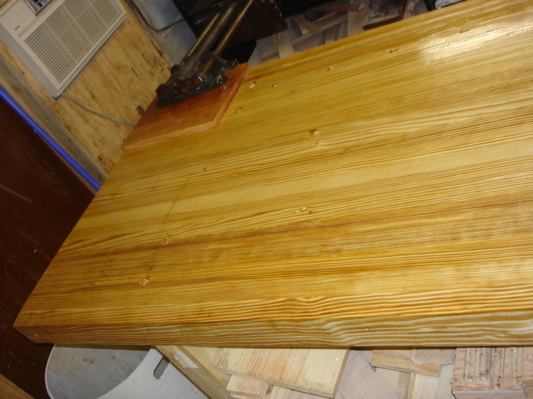
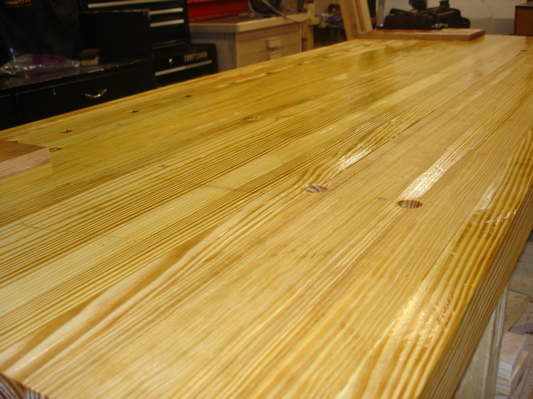

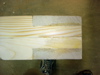
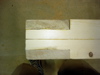
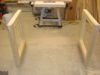
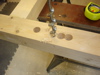
August 3, 2005 - Now that I'm able to sharpen my planes effectively, flattening the bench proceeds. In the first image below, you should be able to see that the left half has been roughly planed and the right half has not. The next three images illustrate the shavings being produced. (The fourth image includes a spray can for scale. This particular can was used because it was handy at the time. I seem to have a wasp's nest in the wall of my shop. I hate wasps.)
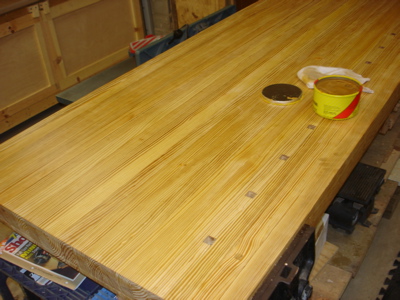
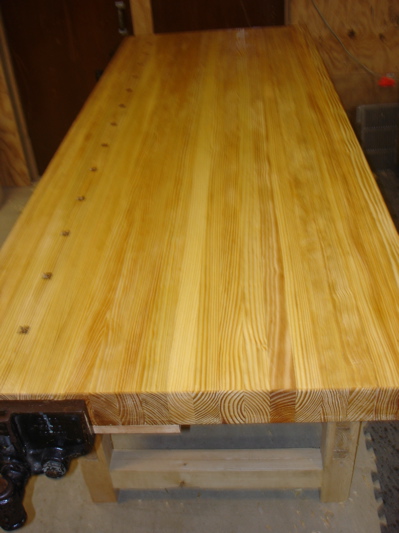
Seeing all the shavings gather on the floor is one of the more tangible and rewarding aspects of this process, for me at least. The other, of course, is feeling the top get smooth and even. No more little glue spots and rough points. The last image shows the rough flattening in its completed state. You'll notice the dog holes are now on the left side. This is currently where I plan to position the top so that the end vise will not be against the door way. This will ensure free movement in and out.
In the flattening process, I've used two planes: a Stanley #6c fore plane and a #5c jack. I started out using the #6 primarily. This worked well enough, but I did notice that I was wasting quite a few strokes in the beginning due to the dried glue. As I planed across the dried glue squeeze-out, the mouth would get clogged and the plane would simply ride across the surface, unable to get a bite on the wood surface.
When the time came to turn the top over and flatten the underside of the bench top, I decided to try the #5 with the blade set deeper to take a bigger bite. This worked exceedingly well. By taking a larger shaving, I was able to shear off the glue squeeze-out areas in one or two strokes. This kept the mouth from getting clogged so easily.
Major lessons learned at this stage:
- This is hard, hard work. Even with a newly sharpened blade planing requires real effort. I have a window A/C unit right next to my bench and I was still pouring sweat. I couldn't support my own weight with my arms to do a simple push-up after I finished that night. This is partially due to the fact that I make my living as a 'squishy computer guy' and I don't tend to get alot of upper-body exercise. But its mostly because this is hard work.
- That being said, I wasn't surprised to find this hard work to be very exhilarating. I look forward to more of it.
- I actually found myself pulling the #6 plane as much as I pushed it. I'm not sure about the correctness of that technique, but it seemed to work well for me. Remember, however, this is essentially my very first real planing session. Take most everything I say here with a grain of salt. Or two. I'm still very much a newbie at this.

Top flattening
Half done


Top flattening
done
July 27, 2005 - Progress continues, slowly but surely. I've now added one last plank to the bench top so that the top is deep enough to create a 1/2" lip (or so) past the bench frame base at front and back. I've also cut both ends off evenly, as square as possible and planed the endgrain. I used a power circular saw and it is rather difficult to cut evenly in two passes. (One cut, flip the top over, second cut to finish.) So, I recommend taking your time or pre-cutting your top gluing planks to their exact size before starting.


So, now its time to start flattening the bench top. However, I don't yet have a good sharpening method. I bought some basic Scary Sharp supplies, but they weren't very good and wore out quickly. This left me frustrated when I was ready to do some real, non-practice sharpening. (As in now.)
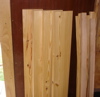
July 18, 2005 - This has been a slow process, working on it when I can, but I've made some great headway. As some of you already know, this is mostly based on Bob Key's "Fast, cheap" bench. The base is made of spruce 2x4s from the BORG, and 2 large southern yellow pine stretchers. The top is all SYP with the round corners ripped off and laminated. (Also BORG) Top thickness is a little under 3", IIRC. I had to go to 1 Lowe's and 2 separate Home Depots to get enough really clean SYP lumber. In fact, I had to buy a mix of 2x8 up to 2x12s to get enough with no knots at all. Heavy stuff.
Still to do:
- Add about 6 more SYP, ripped planks to my laminated top to get my final depth.
- Trim both ends of the top to length and square.
- Flatten the top and attach with loose dowels.
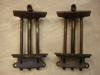
- Attach the 2 old cast iron Morgan vises.
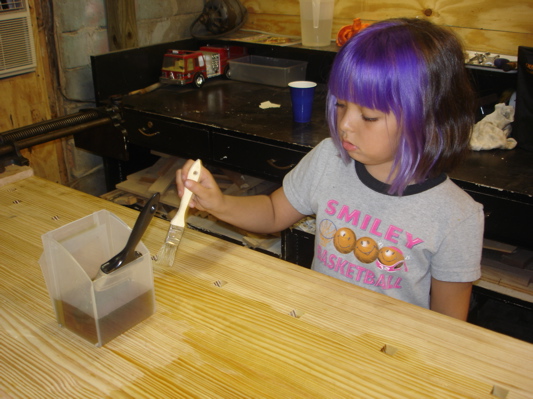
- Finish with some kind of wipe-on oil finish.
- My dog hole row. These went smoother than I thought they would, done with my PC router and 3/4" bit, 3/4 deep. Steeped at 3 degrees toward the tail vise end.
- The top lamination is going pretty well with the few clamps I have. Bought some Harbor Freight pipe clamps to suppliment. I'm using 8 in all. Final top length will be 83 inches!
- Overall dimensions. Its turned out to be probably bigger than I'll likely need, but that's better than the alternative. Its feeling very, very solid already. I'm also pleased with the amount of under-top space, above the stretchers. This will be reserved for a tool cabinet/drawer bank I plan to build as my next project.
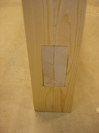
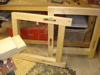
I'm unhappy with the M/T joinery on the stretchers. (See Fig. 3 and 4 below) But I have so much time in this bench and a desire to actually USE my tools with a bench, that I really had no choice but to try and improvise. So I cut the wedge slots for a 'wedged tenon' and began fitting the tenons with my shoulder plane. In the end, I trimmed the tenons too much on the end, giving me gaps around the inside of the mortise when it was fit in place. So, I added wedges around as well as the precut wedge slots. Its ugly, but appears to have set up to something solid enough for a first bench.
One big lesson learned here: when I cut the tenon wedge slots with a low-grade back saw, I only made them one kerf in width. This ended up forcing me to use wedges that were too thin to properly hammer into place at glue-up. These thin wedges would break too easily. I should have made the wedge slots wider to accommodate a sturdier wedge.

Fig. 1

Fig. 2

Fig. 3

Fig. 4

Fig. 5
My first workbench will be based loosely on Bob Key's Good, Fast and Cheap bench.

